
Microsoft Build 2022
Come join me at Microsoft Build 2022 where I will be presenting. Adobe has an awesome presence at Microsoft Build this year and had the opportunity build and present the demos.
Event Details
May 24th-May 26th
Free Online
Demo Tip: Remove unwanted notifications from your demos in iOS 15
Remove unwanted notifications from your demos in iOS 15
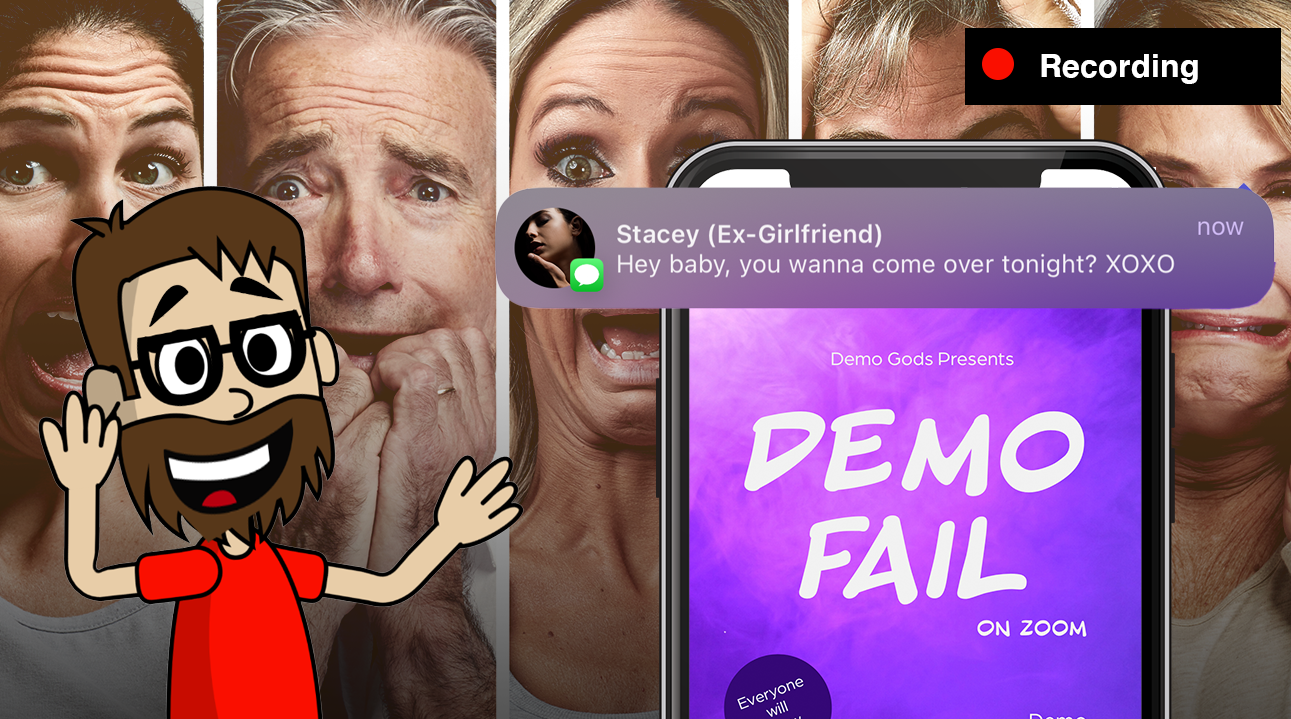
When doing live demos on customer calls or meetings, there are lots of things that can make things awkward really quickly. One of those is getting text message notifications in the middle of your demo. If you’re lucky, it’s you’re boss saying “wrap this up, I’m bored” in front of everyone. On a terrible day, your ex is texting you, and you start hearing snickers in the audience as they react to the text message they weren’t meant to see. Either way, unintended notifications can get awkward really quickly.
But you don’t even have to go that far. We have photos of family and you don’t want to have pictures of your kids and family or people skimming through all the different apps that you use when doing a demo. You often want to clean things up on your phone, so people see what they need to see and nothing else.
Fortunately, there is now a new feature in iOS 15 that makes it much easier to create a “demo mode” and clear all those distractions. The feature, called Focus Mode, allows you to set which notifications are shown and which apps you want to enable notifications. Focus Mode was designed to help people focus on only certain types of apps and filter out the work apps part of your life, the home apps, etc. However, this feature becomes handy when doing demos on your phone.
In this article, I’ll walk through how you can make a “demo mode” on your iOS device so that you never have an awkward moment during a demo again.
What you are going to need
To use this, you need to have an iOS device such as an iPhone or iOS running iOS 15. As long as you have that running, then this will work.
Create a new Focus mode
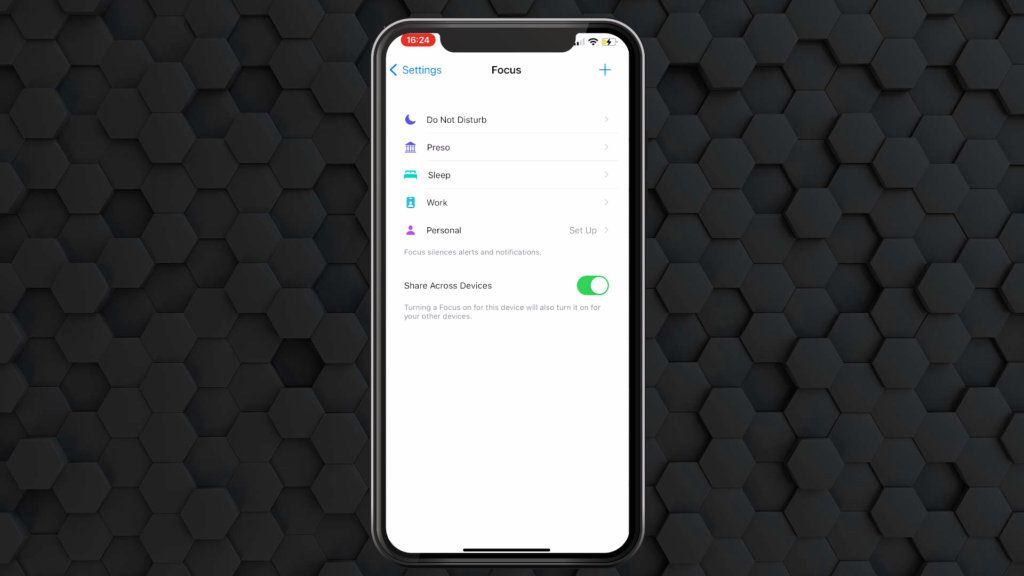
- On your device, go to Settings > Focus.
- Click on + symbol.
- Click on Custom.
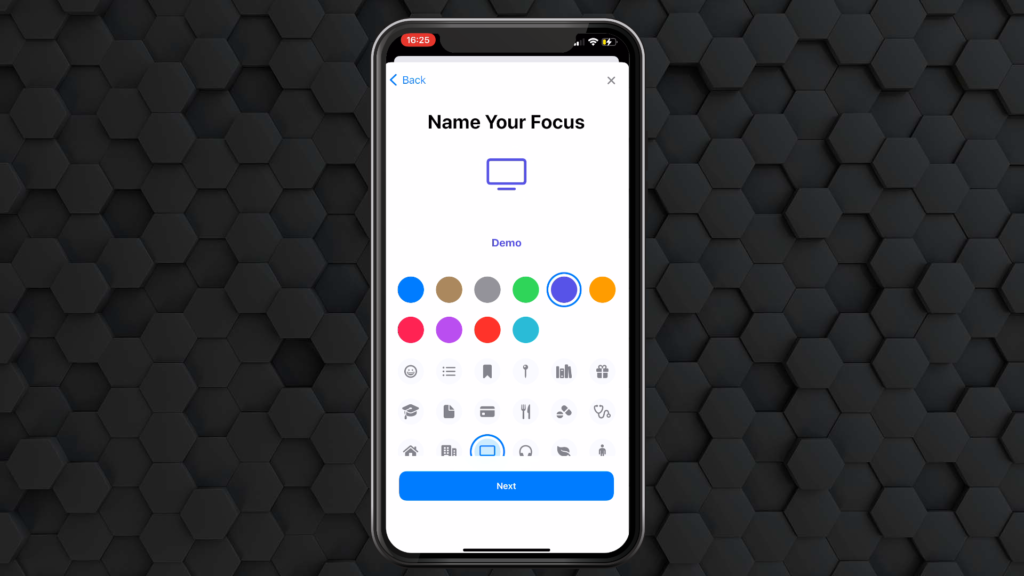
- Set the name of your demo. For example “Demo”.
- Set your color and icon.
- Click on Next.
Set Allowed People for Notifications
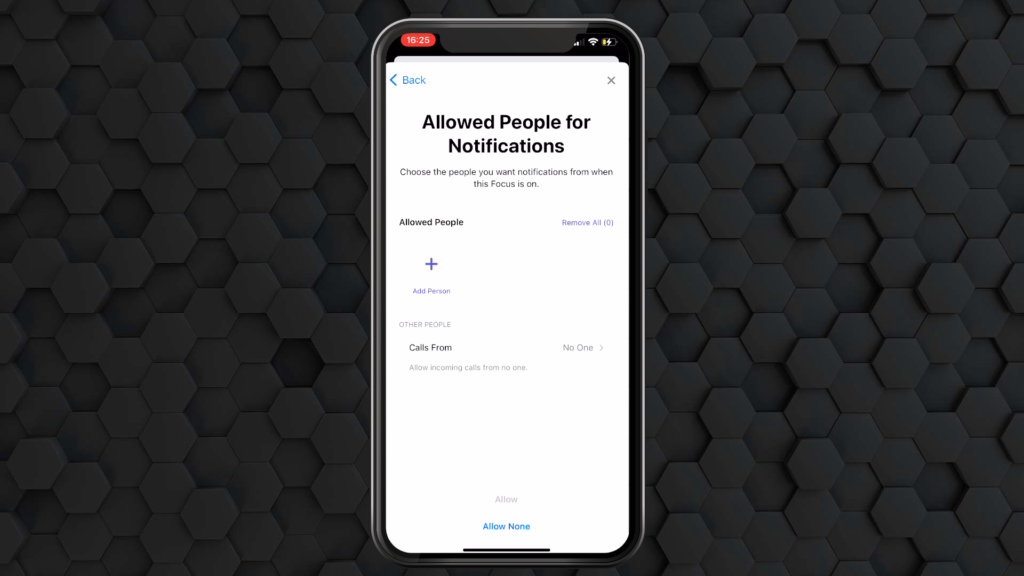
Normally during a demo, I don’t want any text messages or phone calls from people. If I do, it usually is from a specific person because that is part of my demo. With Focus mode, you can explicitly set which people can contact you while your Demo focus mode is on. Once you have specified who can send you notifications or call you, click Allow or Allow None.
Allowed Apps for Notifications
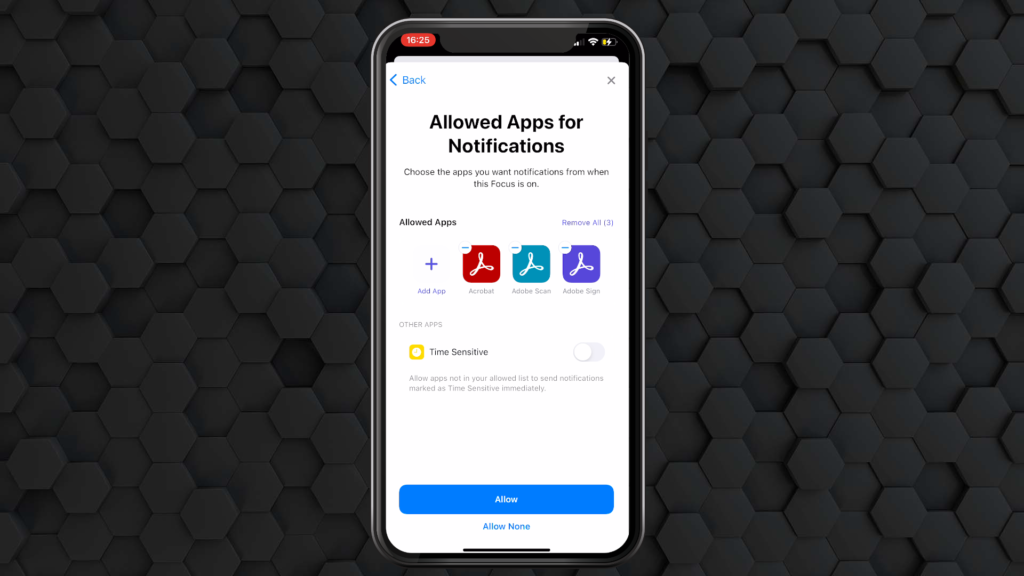
Sometimes, notifications can get noisy, such as breaking news notifications, etc. Before Focus mode, I would go into my settings and shut off notifications for all apps to ensure I don’t get a rogue notification from an app, but that is tedious. Fortunately, with Focus mode, you can show which apps can provide notifications.
You can specify which apps you want to get notifications in the Allowed Apps part. For example, if I am doing a demo with a fictional app like AppX, I can specify that app to get notifications from.
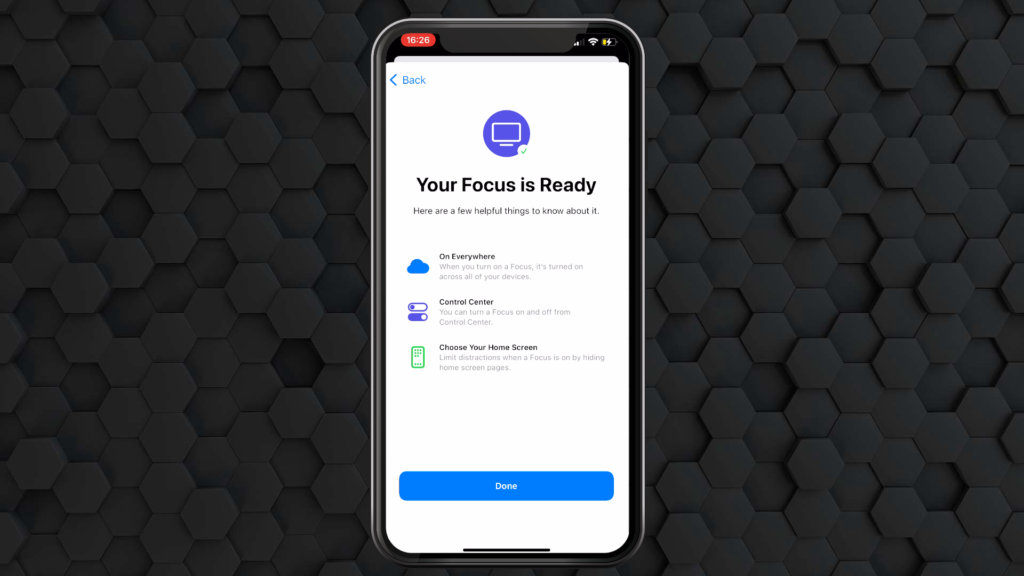
Once you set those, your Focus is ready, and you can click on Done.
Set a Custom Home Screen
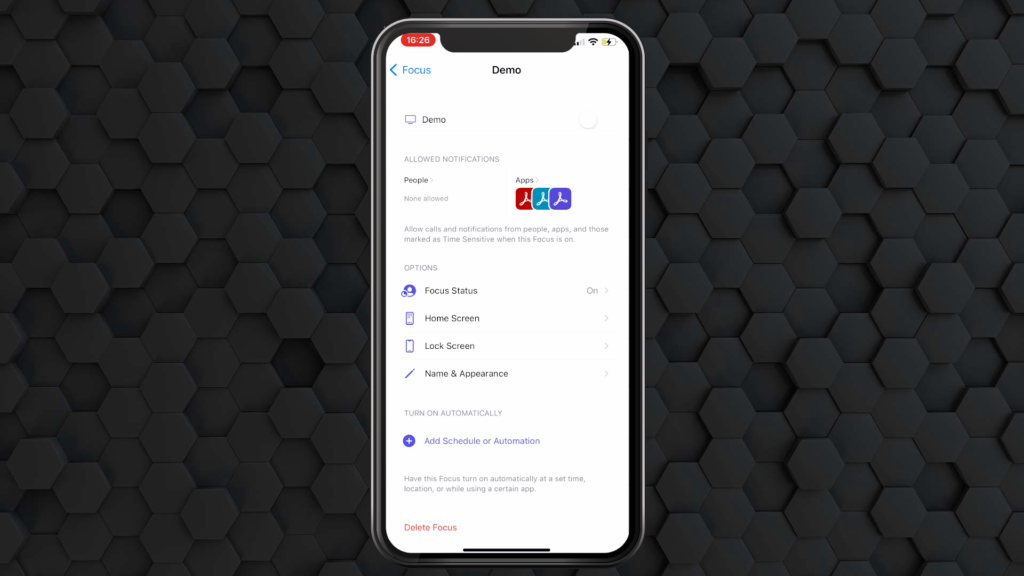
To keep the focus on the apps that matter, you can set a specific Home screen to show so that people do not get to see all of the apps installed on your phone during a demo. To do this, the first thing you will want to do is create a new Home Screen page and choose which apps you want to show up on that screen. Tip: In iOS 15, an app no longer has to reside just on one Home screen. You can now drop it on multiple home screens. To learn how to create and edit your home screen, you can learn that here.
You can specify which home screen(s) you want visible during Demo mode within your focus settings.
- When editing your Focus mode, select Home Screen.
- Enable Custom Pages.
- Choose which Home Screen(s) you want enabled.
- Click Done.
It will then only show that Home screen.

How to enable your new Focus mode
Whenever you need to show a new demo then, you can do that in just a couple of quick, easy steps:
- Open up Control Center (on iPhone X or greater, this is swipe down from the top-right corner).
- Click on the Focus button.
- Choose your Demo focus mode.
- Swipe up to leave Control Center.
That’s it! Now you can do your demo with zero distractions. You don’t have to worry about any awkward moments, and you are in complete control.
Final Thoughts
In an ideal world, you have a separate device for demos from the one you use every day. In practice, though, that often isn’t financially viable. Phones are expensive. Fortunately, iOS 14 and iOS 15 added many handy features that can make providing demos on iOS devices extremely handy. Another example is that you can also show a cursor on an iPhone. All these ensure that you have a successful demo free of distraction and humiliation.
Show taps on iPhone screen when presenting
Have you ever wanted to show taps when presenting the screen of your iPhone or iPad? As part of my job, I often need to do demos on an iPhone or iPad to showcase how apps work on mobile devices. I use tools like QuickTime Player or Reflector to share the screen of my iPhone or iPad on my computer. These work really well to share a screen. However, one thing these do not show very well is where you are tapping. This means that it can be really hard to highlight where people need to tap.
Fortunately, iOS 14 added a handy feature that makes it easier to highlight exactly where someone needs to tap thanks to the Accessibility features that were added and Apple’s extended support for mice in iPad OS. In this article, we’ll walk how you can show taps when sharing an iPhone screen during a demo using these Accessibility features.
What you will need
There are a few things that you will need in order to use this:
- iPhone or iPad running iOS 14 or greater
- Bluetooth mouse
How to show taps on iPhone screen
Enable AssistiveTouch

- Go to Settings.
- Select Accessibility > Touch > AssistiveTouch.
- Enable AssistiveTouch.
The purpose of AssistiveTouch is so that people with disabilities can use accessibility devices to use an iOS device particularly if tapping a screen can be problematic. These devices allow you to use a pointing device like. mouse to navigate a screen, so we are going to enable that.
Pair a Bluetooth Mouse

- Go to Settings.
- Click on Bluetooth.
- Set your mouse to Bluetooth Pairing mode.
- Select your mouse in your Other Devices and Pair.
Now that you have paired your mouse, you should now see a dot on your screen which allows you to navigate. This then allows you to navigate and show where you are “tapping” on the screen.
Bonus: Setup your other buttons on your mouse
Along with being able to use your mouse on your iPhone or iPad, you can also configure your other buttons on your mouse to do other actions. Some popular ones that I like are:
- Click the home button
- Secondary Click
- App Switcher
- Spotlight
- Screenshot
One of the other really cool things is you can also configure a button to trigger Shortcuts in OS. For those who are not familiar, Shortcuts are little mini workflows that allow you to automate different actions within iOS. This can help automate things like phone calls, text messages and more. With AssistiveTouch, you can trigger this with a click of a button. This is really handy during a demo because you can use it to trigger maybe an email notification or something to make your demo looking more real-time.
Final thoughts
For years I have been wishing that there was a way to show where I am tapping on the phone like I have a cursor on desktop. Some apps like Adobe Lightroom on iOS and Workday include tools so that it can show the taps on screen. Using AssistiveTouch makes it much easier to record demos of mobile devices much easier and even show better during a live demo.
Do you find this will help up your demo game? Also check out my recent article on how you can add live cartoons to your livestreams using Adobe Character Animator and OBS.
Epic live streams with live cartoons using Adobe Character Animator with OBS
Ever since Adobe Character Animator came out a few years, it has consistently blown my mind. I have watched really cool things like the animated Donald Trump on Stephen Colbert’s show. At Adobe MAX in 2016, I got to see Nancy Cartwright perform Bart Simpson live in front of an audience. The idea of animation being something that you could do live just is mind-boggling.
Flash forward several years, I am playing more with tools like OBS. I have started to look into how easy it would be to incorporate a live animation along with other things that I am doing using OBS so I set out to discover just how much effort it would take to incorporate Adobe Character Animator with OBS. This allows me to add live c
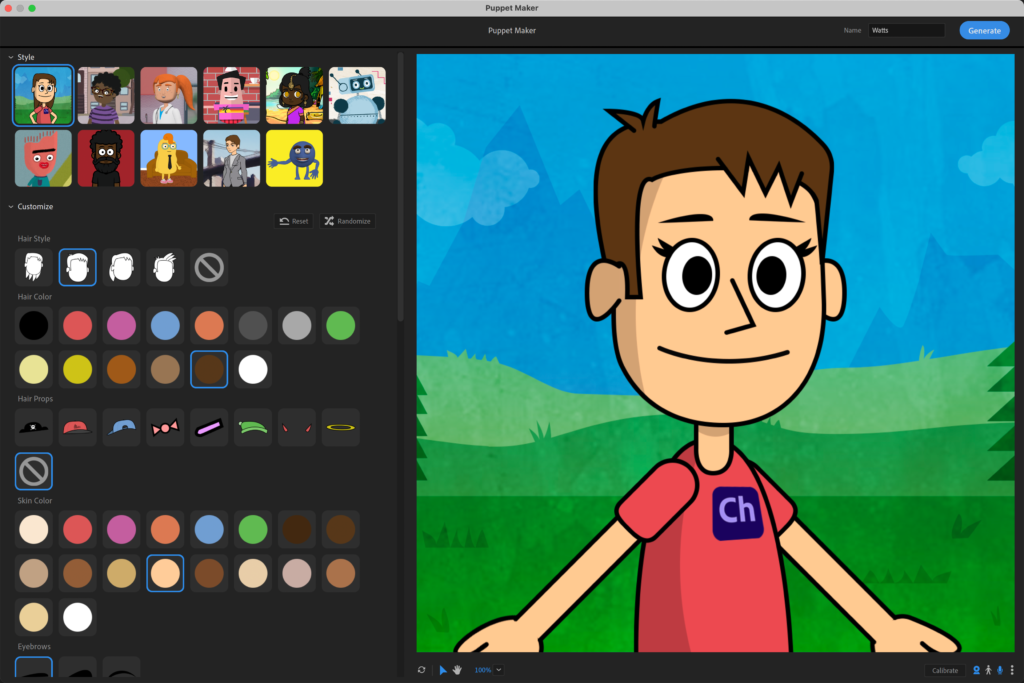
It turns out it is way easier than I even expected. So in this blog, we are going to walk through how you can easily create a character and build it into your scene in OBS. This solution works both for Mac or Windows.
Install the right software
There are a few things you are going to need to get this to work:
OBS
OBS, or Open Broadcasting Software, is a tool that allows you to live-stream to many different tools like Facebook, Twitch, and many others. It also becomes very handy for live presentations on Zoom, Microsoft Teams, and other apps because it allows you to transition between different things, screens very easily.
Adobe Character Animator
You arneed to install Adobe Character Animator, which is included as part of the Adobe Creative Cloud subscription. If you don’t have that but you want to play, you can sign up for a trial at adobe.com. You are also going to want to make sure you have this installed before you install the other items.
NDI Tools
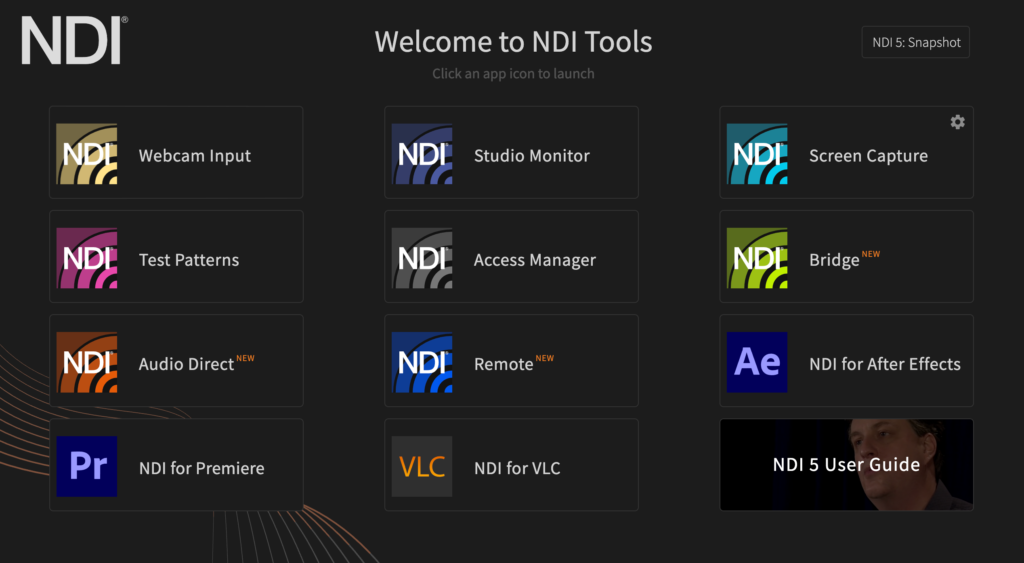
NDI Tools is a free set of tools that enables NDI video protocol over Ethernet. NDI has become popular with broadcasters to stream video over a network. It becomes really useful for high-end IP-based cameras as well as for streaming from one computer to another. NDI Tools includes plugins for Adobe Creative Cloud apps like Adobe Character Animator, Adobe Premiere Pro, and Adobe After Effects; this enables you to output playback directly to OBS, which becomes really handy.
NDI-OBS Plugin
In order to capture NDI feeds easily into your scene, you need to install the NDI-OBS plugin. It’s really simple. Just install it, but make sure you restart OBS after you install it if you have it open.
Setup your feed from Character Animator
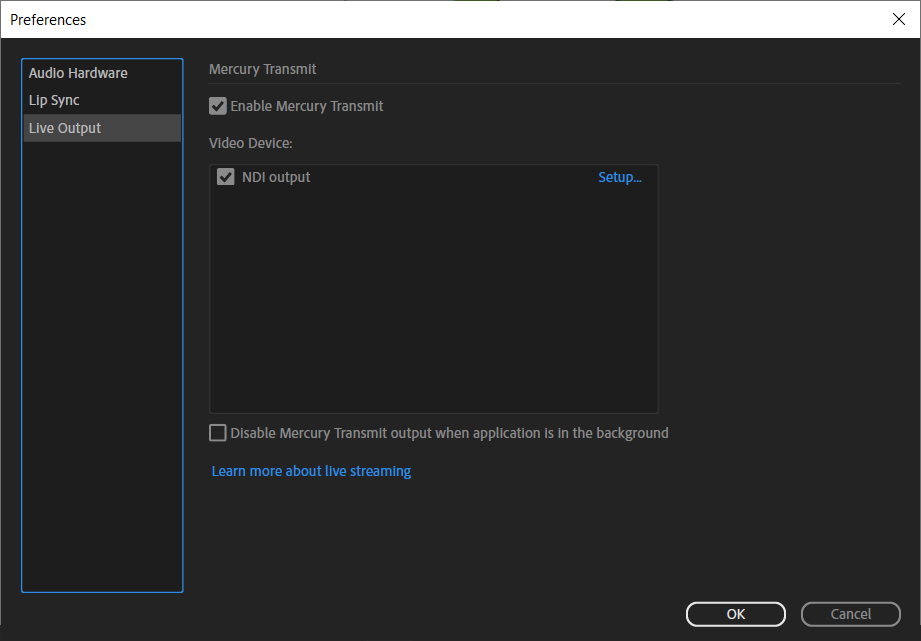
The first thing to do is make sure NDI Tools plugins are installed in Character Animator.
- Open Adobe Character Animator on your computer.
- Go to Preferences (Edit > Preferences on Windows or Character Animator > Preferences on Mac).
- Go to the Live Output section.
- Ensure that Enable Mercury Transmit is enabled.
- Enable the video device NDI output.
Setup OBS
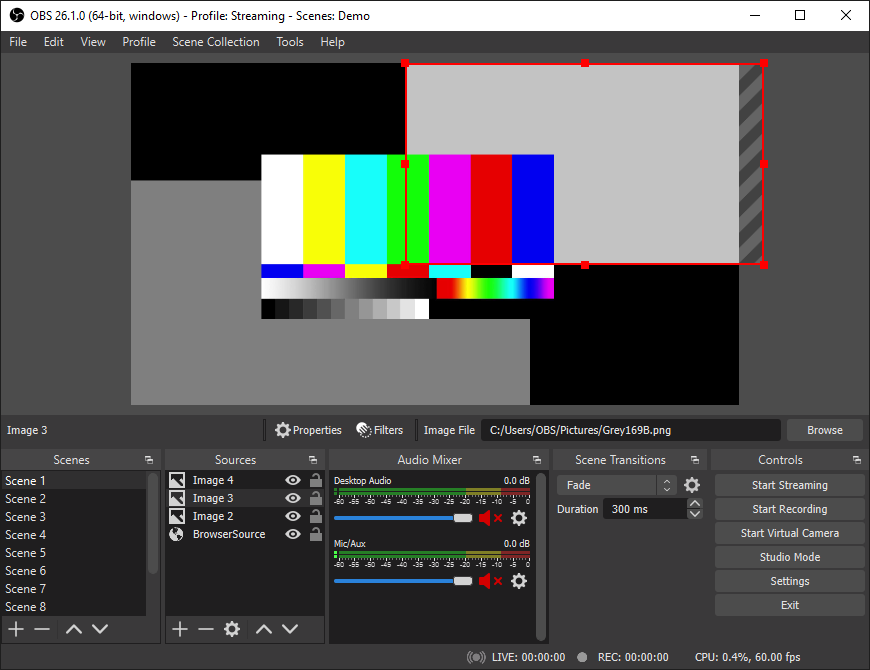
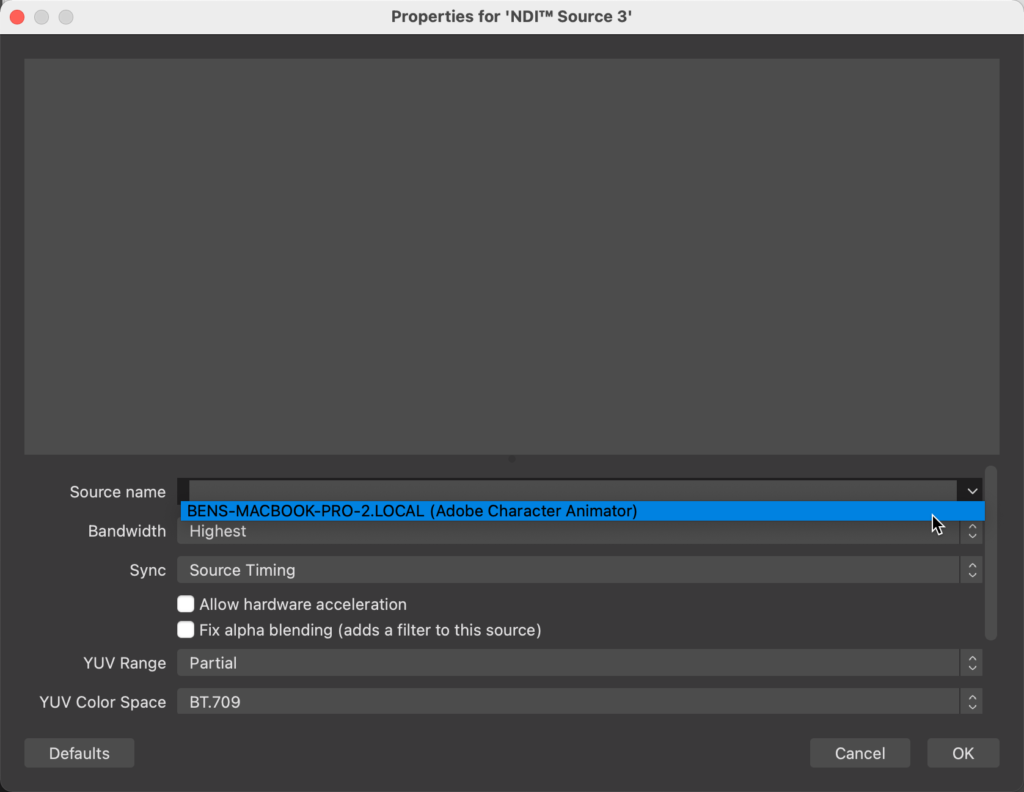
In OBS, you will need to create a new NDI source to take in the input from Character Animator.
- In the Sources panel, click on the + symbol.
- Select NDI Source.
- Set the name of your source.
- Click on OK.
- In the Source name, set it to the NDI source coming from Adobe Character Animator.
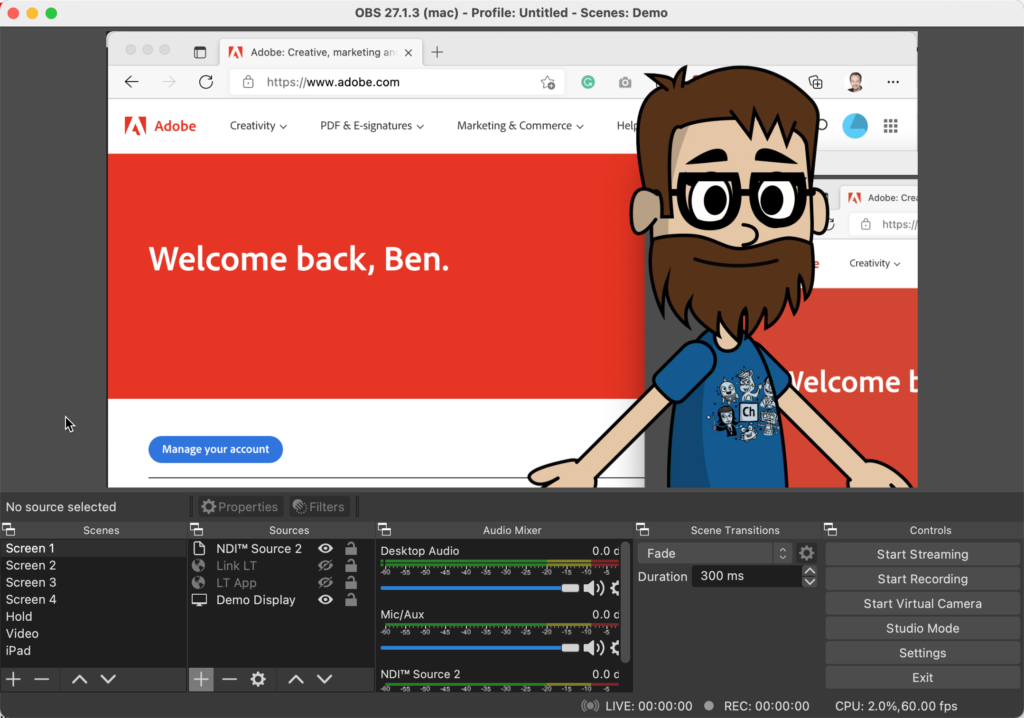
You should now see the live output coming from Character Animator in your Canvas:
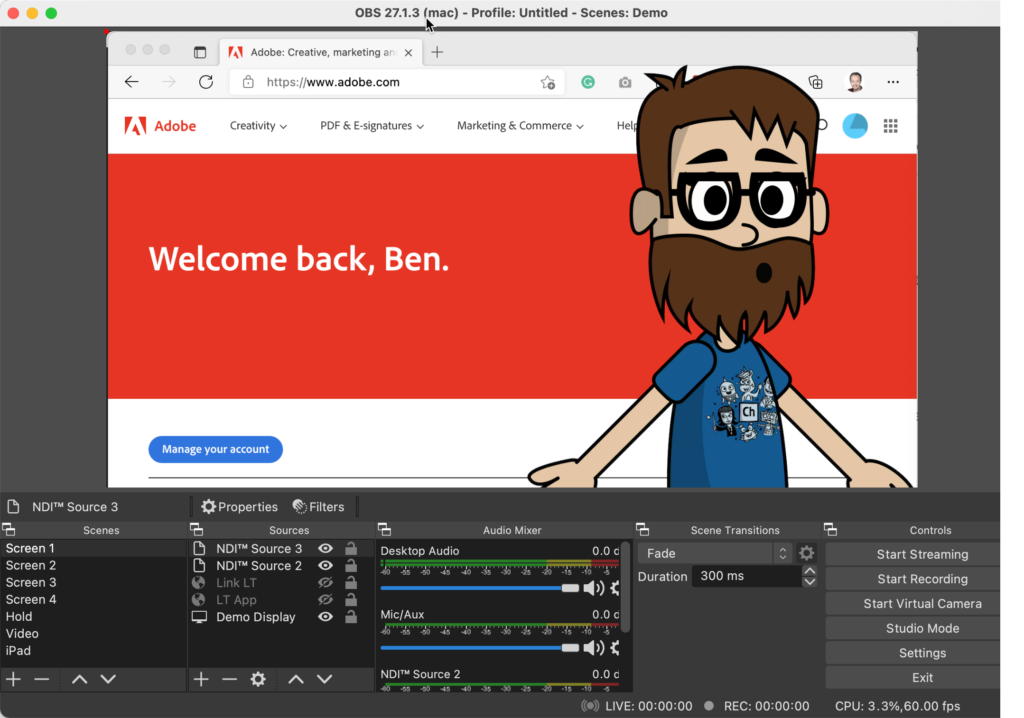
The great thing is that it also outputs the alpha channel, so this can be great for simulating a live interaction with a cartoon character by having a video input from your webcam and an NDI input from your computer.
Using multiple computers
Both Adobe Character Animator and OBS can both be resource-intensive, especially if you are also doing encoding for a live stream. This also tends to be more resource-intensive when you are running on a Mac vs. Windows. To resolve this, you can run Adobe Character Animator and OBS on separate computers. NDI is a protocol for streaming video on a network, such as over ethernet. So as long as your computers are on the same computer network and you have NDI Tools installed, you should be able to pick up that feeds on another computer. However, I recommend that you have a 1Gbps wired ethernet connection to eliminate any lag.
Final thoughts
If you ever watched movies like Marry Poppins and wished “I wish I could create a video where I get to talk to a cartoon character”, then this is a great way to make that not only a reality but something you can live stream on YouTube, LinkedIn or even your video conferencing meetings.