In my previous article, I walked through how you can automatically make documents searchable when they are dropped in a folder. But what if you want to select a file and do a custom action to it, like add PDF protection to a PDF?
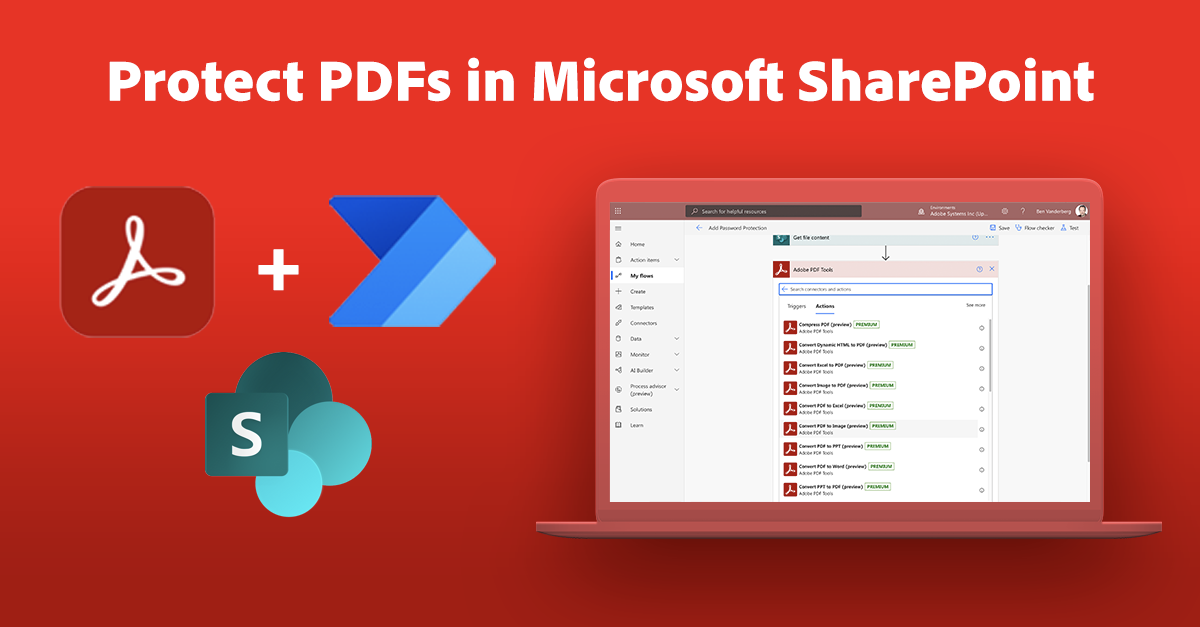
Adobe PDF Tools for Microsoft Power Automate allows you to easily create flows for all your document-related processes, such as OCR, creating PDFs, combining PDFs, etc. One benefit is adding password protection to view or adding granular controls to prevent printing, copying, etc.
Microsoft Power Automate is an automation service included as part of Microsoft 365 allowing you to automate a variety of actions, including a trigger that allows you to start actions when you select files or items in SharePoint.
In this article, we are going to walk through setting up an automation so that selecting a file in SharePoint triggers an action to OCR the document using Adobe PDF Tools.
What You Will Need
· Adobe PDF Tools (you can get a free trial here. Note: you can get a free 6 month trial.)
· Microsoft Power Automate (you will need premium licensing to take advantage of PDF Tools)
Create your Adobe PDF Tools credentials
If you haven’t already created credentials to use with your Adobe PDF Tools, you can create them here.
Once you provide a name and description, your client credentials will be generated. Keep this window open; you will need this information to create a connection in Microsoft Power Automate.
Create a flow from a template
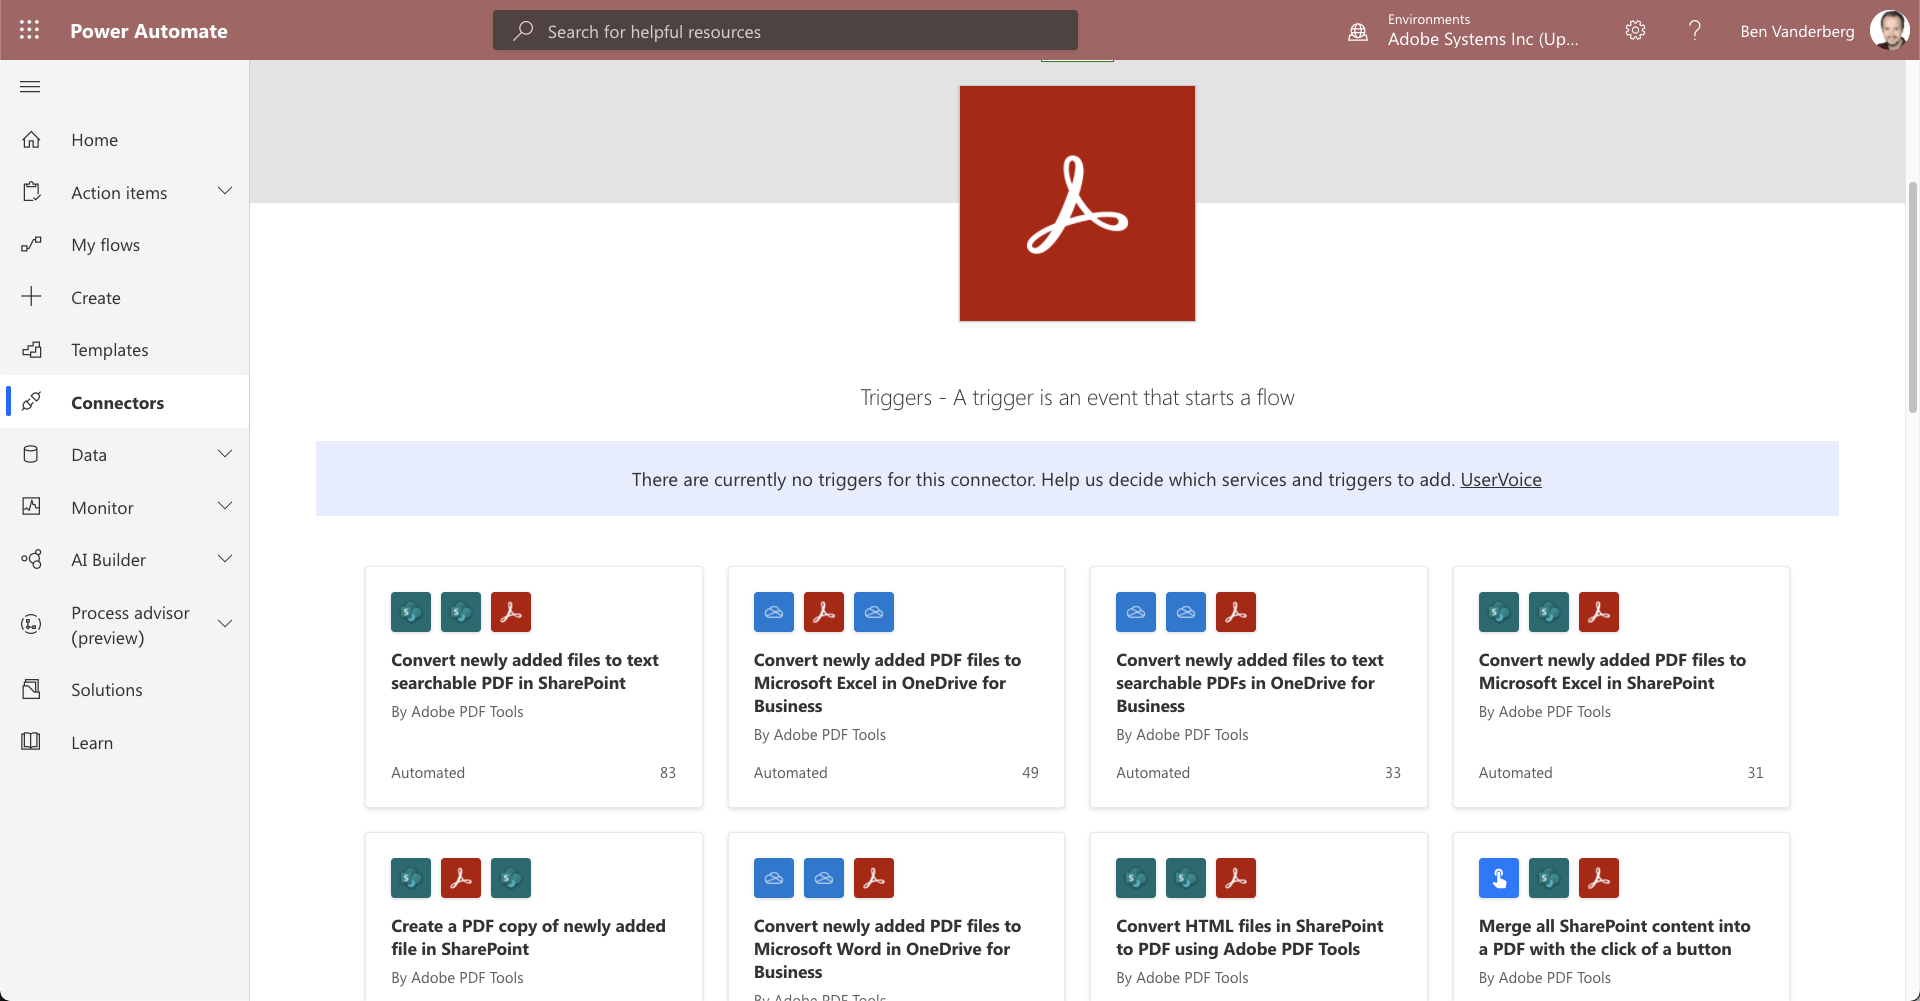
Adobe PDF Tools has a variety of templates already made to make it easy for you to get started. We are going to use one of these for this example.
-
Log into Microsoft Power Automate.
-
Use this template to get started. We are going to modify it and simplify it to suit our needs.
-
You will need to create a connection to PDF Tools.
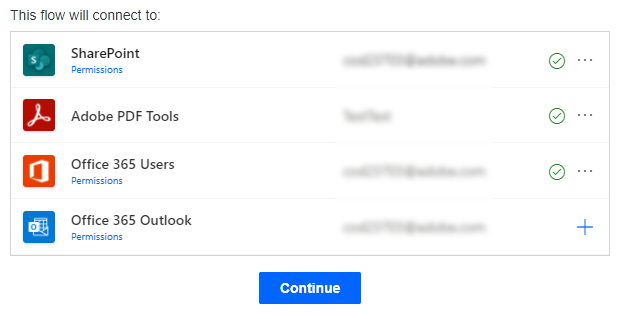
- Click Continue.
Modifying template
Now that you have all your connections, you only need to make a few changes to get this template working.
-
Click on For a selected file trigger action to expand the step if it’s not already expanded.
-
Click + Add an input.
-
Select Text.
-
Set the name of the input to Password.

-
Delete the Get my profile (V2) by clicking on the … menu and select Delete.
-
Delete the Send an email (V2) by clicking on the … menu and select Delete.
-
In the trigger For a selected file, set your Site Address to the SharePoint site you wish to use. Repeat this step for Get file properties action and Get file content action.
-
Set the field Library Name to your specified Document Library. You will need to do this for both the For a selected file and Get file properties actions.
-
Delete the Convert PDF to Word action by clicking on the … menu and selecting Delete.
-
Click the + New step button to add the Protect PDF from Viewing (preview) or Protect PDF from Copying, Editing and Printing (preview) action.

-
Using the Dynamic Content popup, set the File Name to the fileName variable from the For a selected file action.
-
Using the Dynamic content popup, set the File Content to the File Content variable from the Get file content action.
-
Using the Dynamic content popup, set the Password to the Password variable from the For a selected file action.
-
Now you need to add a step to save over the file in SharePoint. Click on + New step at the bottom of the flow and search for SharePoint. Then select Update file.
-
In the Update file action, set the Site Address to your SharePoint site.
-
Use the Dynamic content menu to set the File identifier to the ID variable from Get file properties action.


-
Set the File Content to the PDF File Content variable from Convert PDF to Word action.
-
Finally, set your Flow name to “Add Password Protection.”
-
Click Save.
Try it
Now that the action is set up, you can use it within your SharePoint document library.
-
Go to your SharePoint website.
-
Select the file you would like to add password protection to.
-
Click Automate in the ribbon and select your flow.

-
Click Continue.
-
In the Password field, enter the password you would like to set for your document.
-
Click Run flow.
-
Once the updated file is saved, you will see it has been modified.
-
Open the PDF and you will see that you are now prompted to enter a password.

Want a better PDF viewing experience like what you get with Adobe Acrobat Reader in Microsoft SharePoint? Adobe Document Cloud PDF Experience provides a wonderful way to view PDFs using Acrobat’s renderer in SharePoint without needing to download PDFs. It also gives you the ability to comment and review PDFs.
Pro Tips
Try other PDF Tools actions
Based on this action flow of triggering when a file is selected, have a look at some of the other available actions, such as:
· Convert PDF to PowerPoint
· Convert PDF to Word
· Convert Document to PDF
· Compress PDF
Use these with other Adobe actions
Adobe Sign and Adobe Creative Cloud connectors are also available within Microsoft Power Automate and allow you to create similar Flows.
Trigger flow on multiple items

You can select multiple items in SharePoint and trigger your flow. This is a fantastic way to perform bulk actions like OCR, convert, compress, etc. on several items all at once. One important note is that each file is considered a separate flow trigger, so you won’t be able to relate them to each other when you select them all at once.
Trigger selected files in OneDrive, Dynamics, and others
You aren’t limited to selected files in SharePoint. You can also use selected list items, OneDrive files, items in Dynamics, and others. You can even use these functions with Power Apps, giving you the freedom to create whatever you want!
Concluding thoughts
Adobe PDF Tools API really gives you the flexibility to do whatever document actions you need with your PDFs. Combined with Microsoft Power Automate, this gives you a huge amount of flexibility to create automated actions while working in tools like SharePoint, and it is easy to configure.