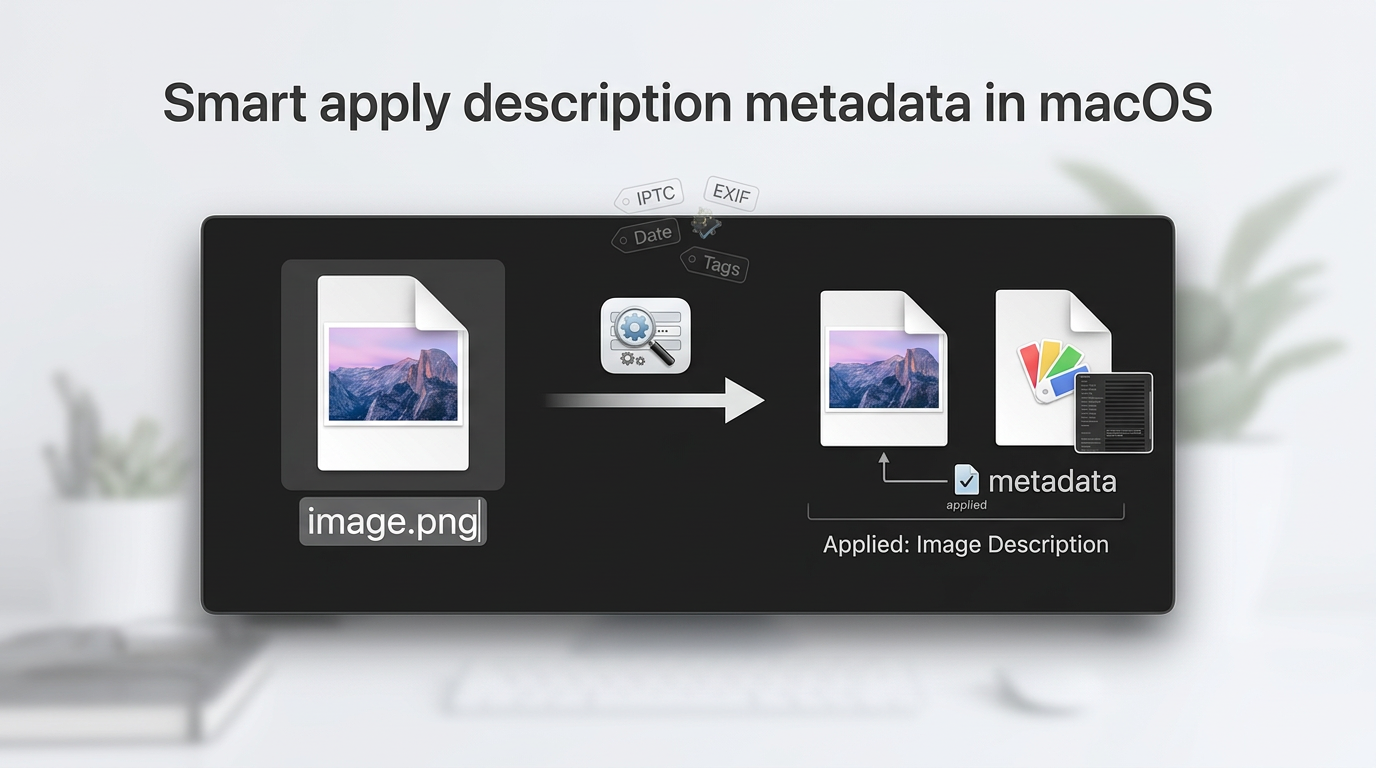
Most image files have no idea what’s in them. A photo named IMG_4821.png carries no description, so searching for it, cataloging it, or making it accessible means doing the work by hand.
This Apple Shortcut writes the description for you. Select your images in Finder, run it, and each file gets an AI-generated description saved in its XMP metadata, where apps like Adobe Bridge and Lightroom can read it.
Already renaming files with AI? This is the companion to Rename Your Images with AI, Right from Finder. That one changes the filename. This one leaves the filename alone and writes the description into the file itself. Use both together for files that are named and described.
Why XMP metadata matters
XMP (Extensible Metadata Platform) is the standard way to store information like descriptions, titles, keywords, and credits inside an image file. People use it because it travels with the file, so the information survives when you move, share, or archive an image.
That’s also why it’s the common language between tools. Adobe Lightroom, Adobe Bridge, and many digital asset management (DAM) systems read and write XMP, so a description added in one place shows up in the others. If your images pass through a pipeline, from camera to editor to asset library to publishing, XMP is how the metadata keeps up.
The problem is that maintaining metadata is a burden. Writing a good description for every image is tedious, so it often doesn’t happen, and then your search, cataloging, and accessibility workflows suffer.
What if on-device AI could do that work for you? That’s what this Apple Shortcut does.
What it does
For each image you select in Finder, the Apple Shortcut:
- Sends the image to Apple’s Foundation Model using the
fmcommand-line tool. - Asks for a short description of what’s in the image.
- Passes that description to
exiftool, which writes it to the image’s XMP metadata (theDescriptionfield).
The image is edited in place, and the filename doesn’t change.
What is fm?
fm is the Apple Foundation Models CLI, a command-line tool that comes with macOS 27. It lets you talk to the AI model Apple built into your Mac, straight from Terminal or from a script.
You give it a prompt, and optionally an image, and it prints a response:
fm respond --image photo.jpg --text "What is in this image?"Because it’s a normal command-line tool, you can use it from shell scripts, AppleScript, and Apple Shortcuts, and you can pipe its output into other tools. That’s how this project works: fm writes the description, and exiftool saves it.
Why do it this way?
- The model is already on your Mac. There’s nothing to download, no API key to set up, and no separate app to install.
- It’s private. The model runs on your machine, so your images aren’t uploaded to a third-party service. That matters for screenshots, client work, or personal photos.
- It doesn’t cost you tokens. Describing a folder of images with ChatGPT or Claude means uploading every file and spending your usage on a chore. This runs locally, so you can process hundreds of files without using up either one.
- The description travels with the file. XMP is a standard, so the description stays with the image when you move it, share it, or import it into another app.
Requirements
- macOS 27 or later. The
fmtool is part of macOS 27, so this won’t work on earlier versions. - Accepting the
fmterms. You need to agree to the Legal Notice & Terms once before the tool will work (see below). - ExifTool. It does the writing. The next section covers installing it.
Install ExifTool with Homebrew
Homebrew is the easiest way to install ExifTool on a Mac. First check whether you already have it. Open Terminal and run:
brew --versionIf you see a version number, skip ahead to installing ExifTool. If you get command not found, install Homebrew by pasting this into Terminal:
/bin/bash -c "$(curl -fsSL https://raw.githubusercontent.com/Homebrew/install/HEAD/install.sh)"When it finishes, Homebrew prints a Next steps section with two commands that add it to your PATH. Run those, then close and reopen Terminal.
Now install ExifTool:
brew install exiftoolConfirm it worked:
exiftool -verOne-time setup: accept the terms
Before the first run, open Terminal and run:
fm licenseThis shows the Legal Notice & Terms and lets you agree to them. If you skip this step, fm won’t return descriptions, and the Apple Shortcut will fail on every file.
You only need to do this once.
Install the Apple Shortcut
- Open the link on your Mac: Add AI Description to Metadata
- Click Add Shortcut in the Apple Shortcuts app.
- Run it once. macOS will ask whether the Apple Shortcut can control Finder and run a shell script. Allow both, since it needs them to read your selection and edit the files.
Add it to Finder’s Quick Actions
The best way to use this Apple Shortcut is straight from Finder’s right-click menu.
- Open the Apple Shortcuts app and double-click the shortcut to open it in the editor.
- Click the Shortcut Details button (the ⓘ icon) in the toolbar.
- Turn on Use as Quick Action.
- Check Finder. You can leave the other options unchecked.
- Close the editor. The shortcut is saved automatically.
If it doesn’t show up in the right-click menu, choose Customize… at the bottom of the Quick Actions menu and make sure the shortcut is checked.
How to use it
- In Finder, select the image files you want to describe.
- Right-click and choose Quick Actions, then the shortcut. You can also run it from the Apple Shortcuts app or the menu bar.
- Wait a few seconds per image. The model works through them one at a time.
- Check the result with ExifTool:
exiftool -XMP-dc:Description photo.jpgYou’ll see the description the model wrote. You can also open the file in Adobe Bridge or Lightroom and look at its Description field.
How it works
The Apple Shortcut is two actions: Get Selected Files in Finder and Run AppleScript. For each file, the AppleScript runs a pipeline like this:
fm respond --image photo.jpg --text "Describe this image in one or two sentences. Output only the description." \
  | tr -d '\n' \
  | exiftool -overwrite_original -XMP-dc:Description'<=/dev/stdin' photo.jpg
fm writes the description to standard output, tr strips the trailing newline, and exiftool reads the text from standard input and saves it to the XMP-dc:Description tag. To change the style of the descriptions, edit the prompt inside the Run AppleScript action. For example, you could ask for alt text, keywords, or a longer caption.
Tips and caveats
- Try a copy first. The Apple Shortcut edits files in place (
-overwrite_original), and descriptions come from a small model, so they won’t always be accurate. Test on a few copies before running it on a whole folder. - Only images. The Apple Shortcut is built for image files that support XMP, like JPEG, PNG, TIFF, and HEIC. Other file types may fail.
- Overwrites existing descriptions. If an image already has a
Description, it gets replaced.
Get it
And if you also want better filenames, here’s Rename Your Images with AI, Right from Finder.